BLOG
Best Brake Pads for a Classic Mustang: Street vs Track
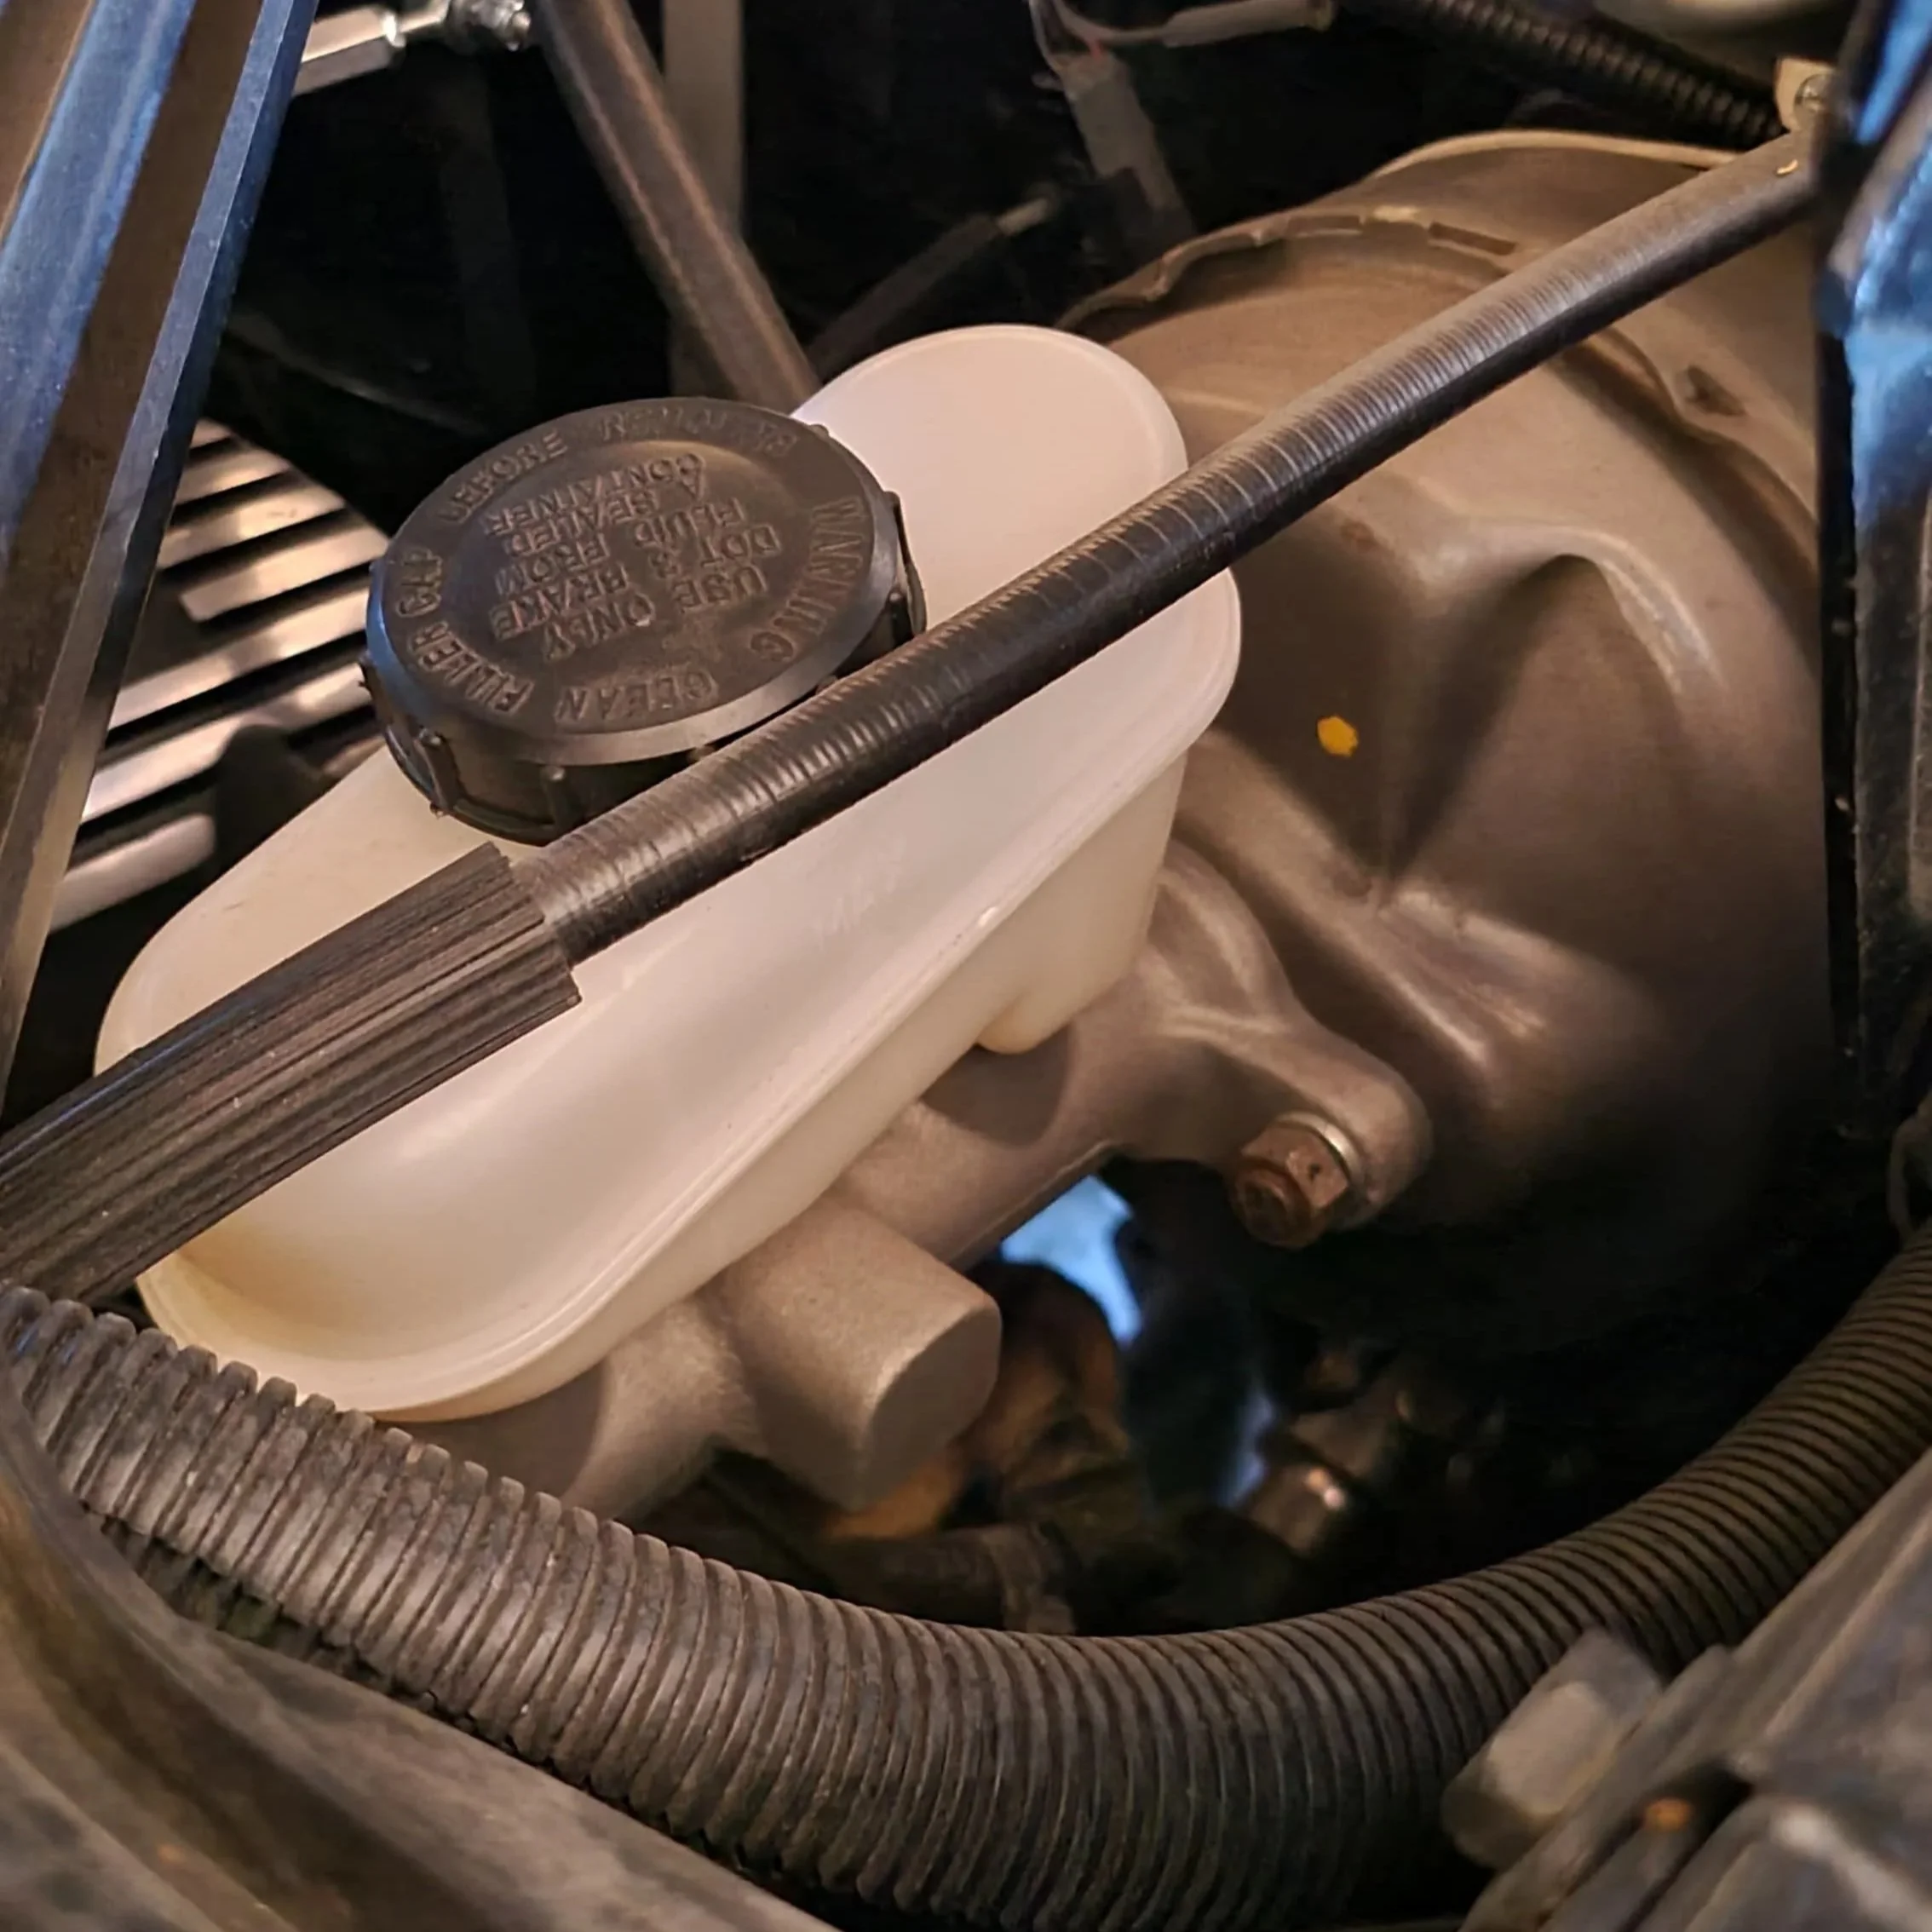
SN95 Master Cylinder Swap for a Classic Mustang
Lincoln / T-Bird “Trans Am” Brake Swap for a Classic Mustang
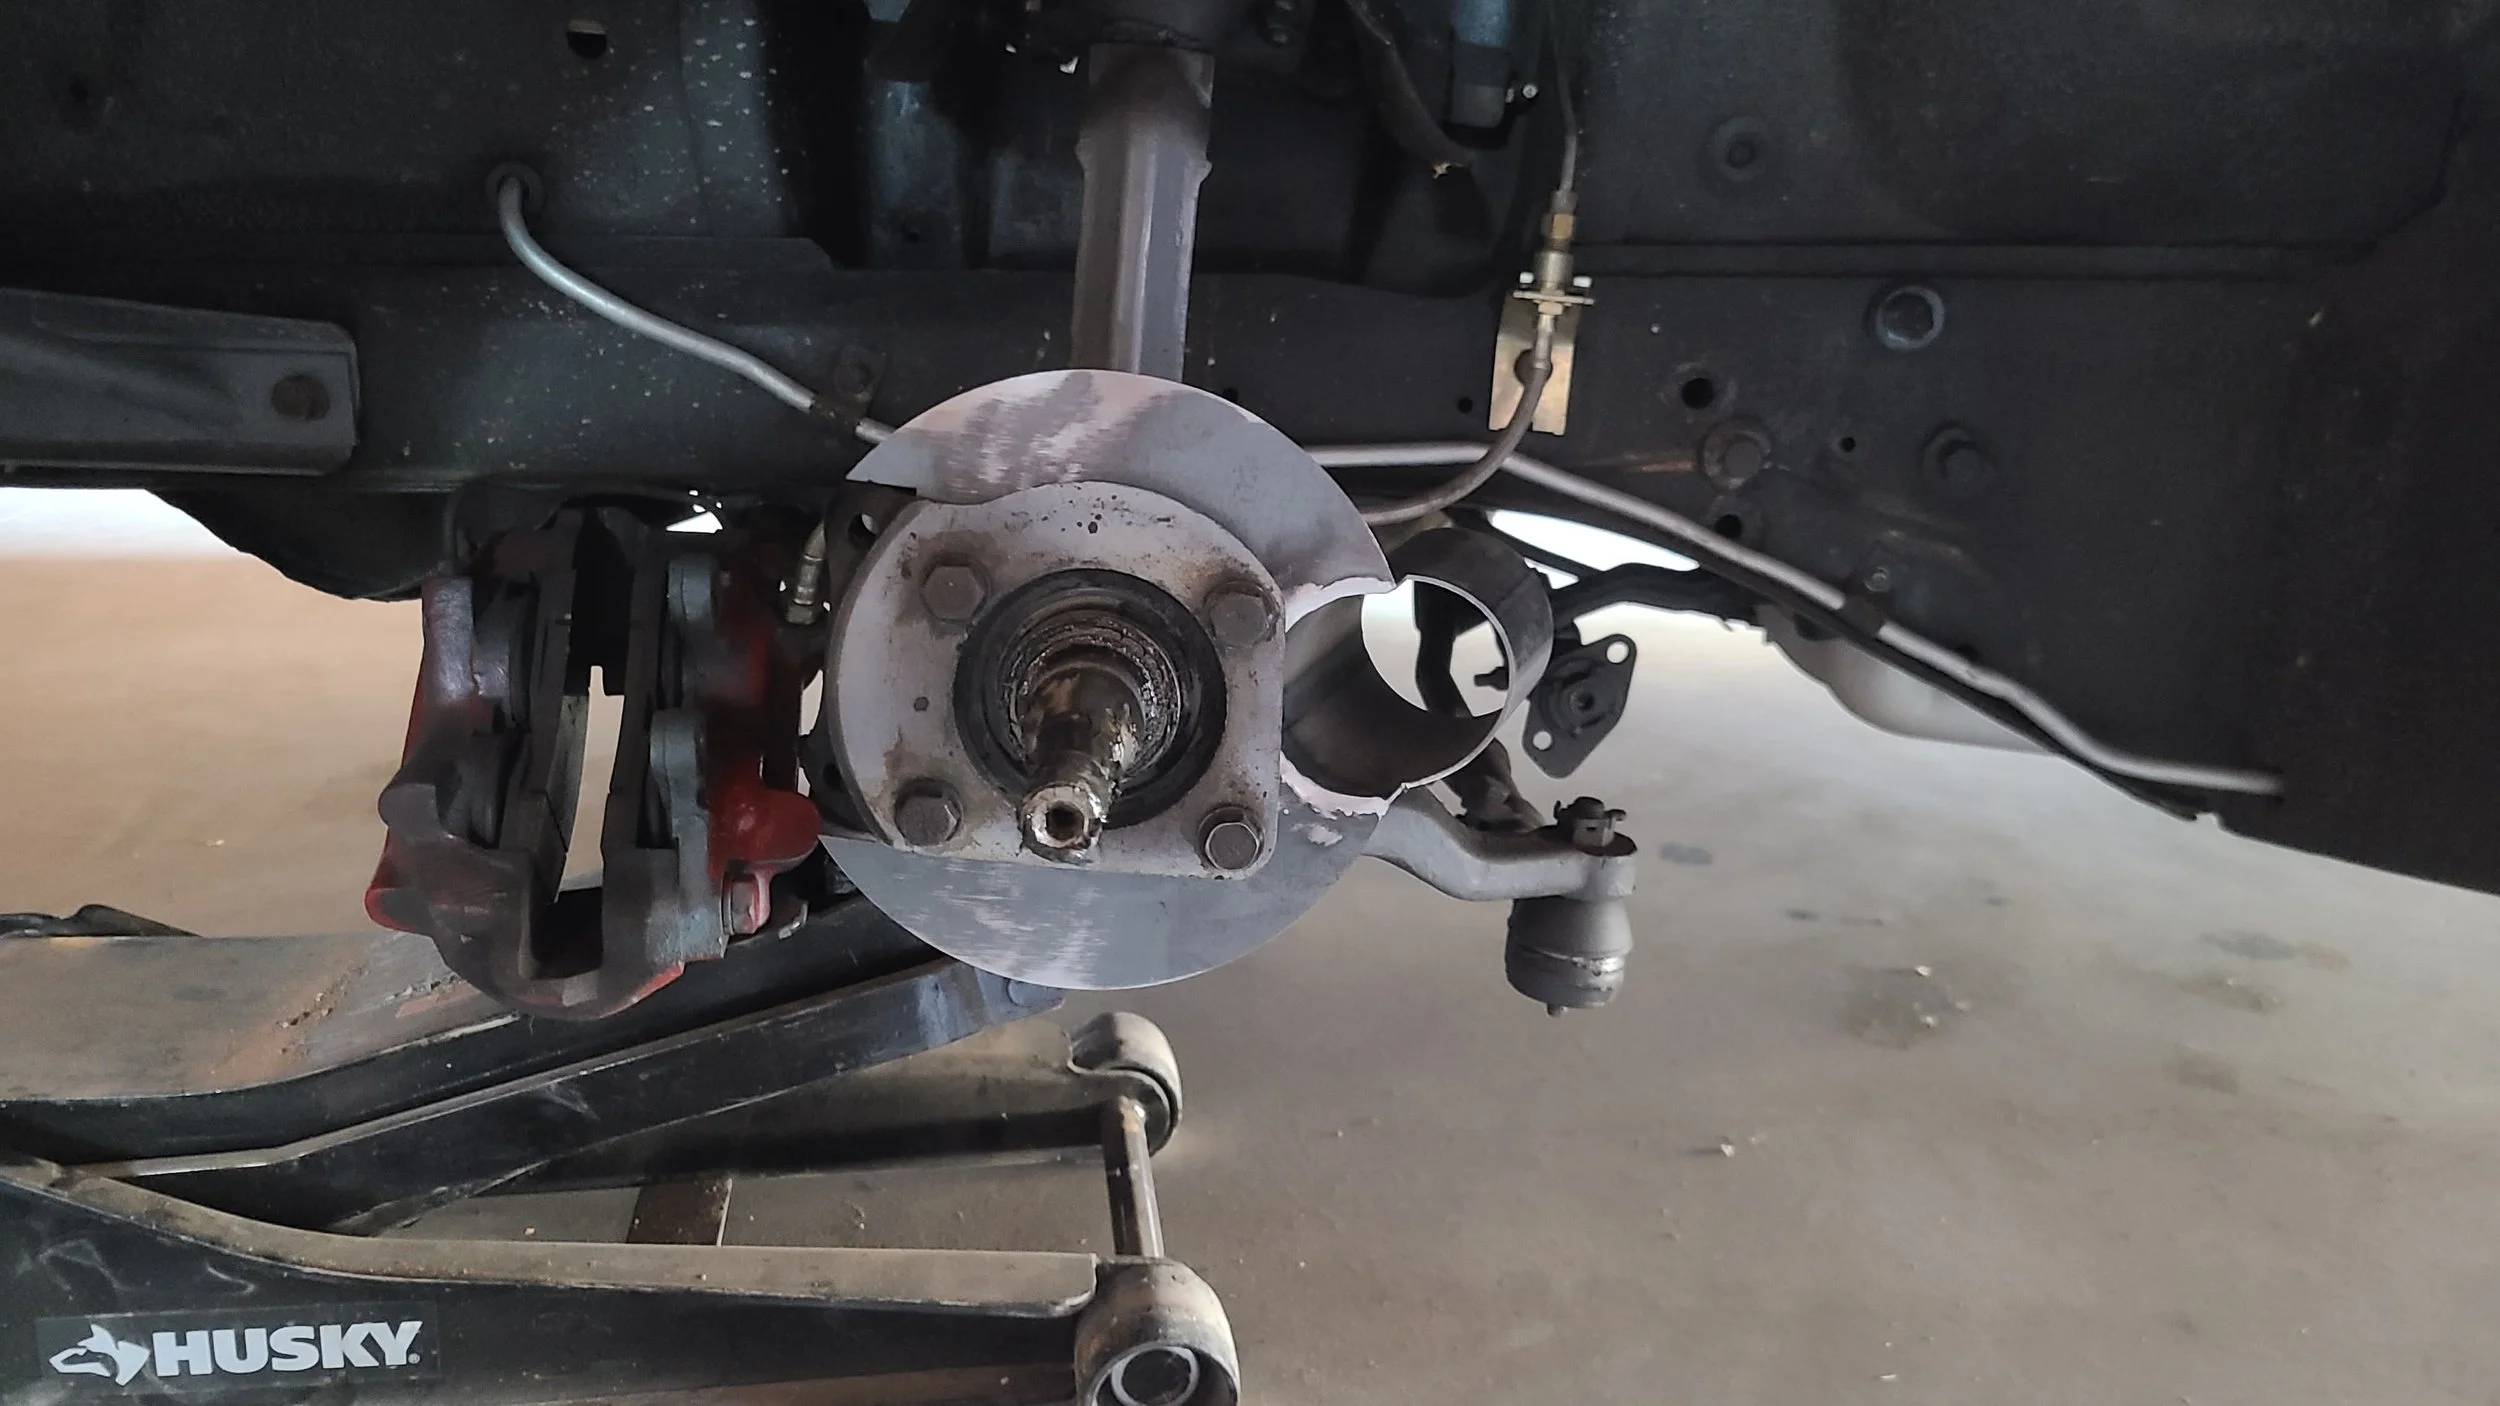
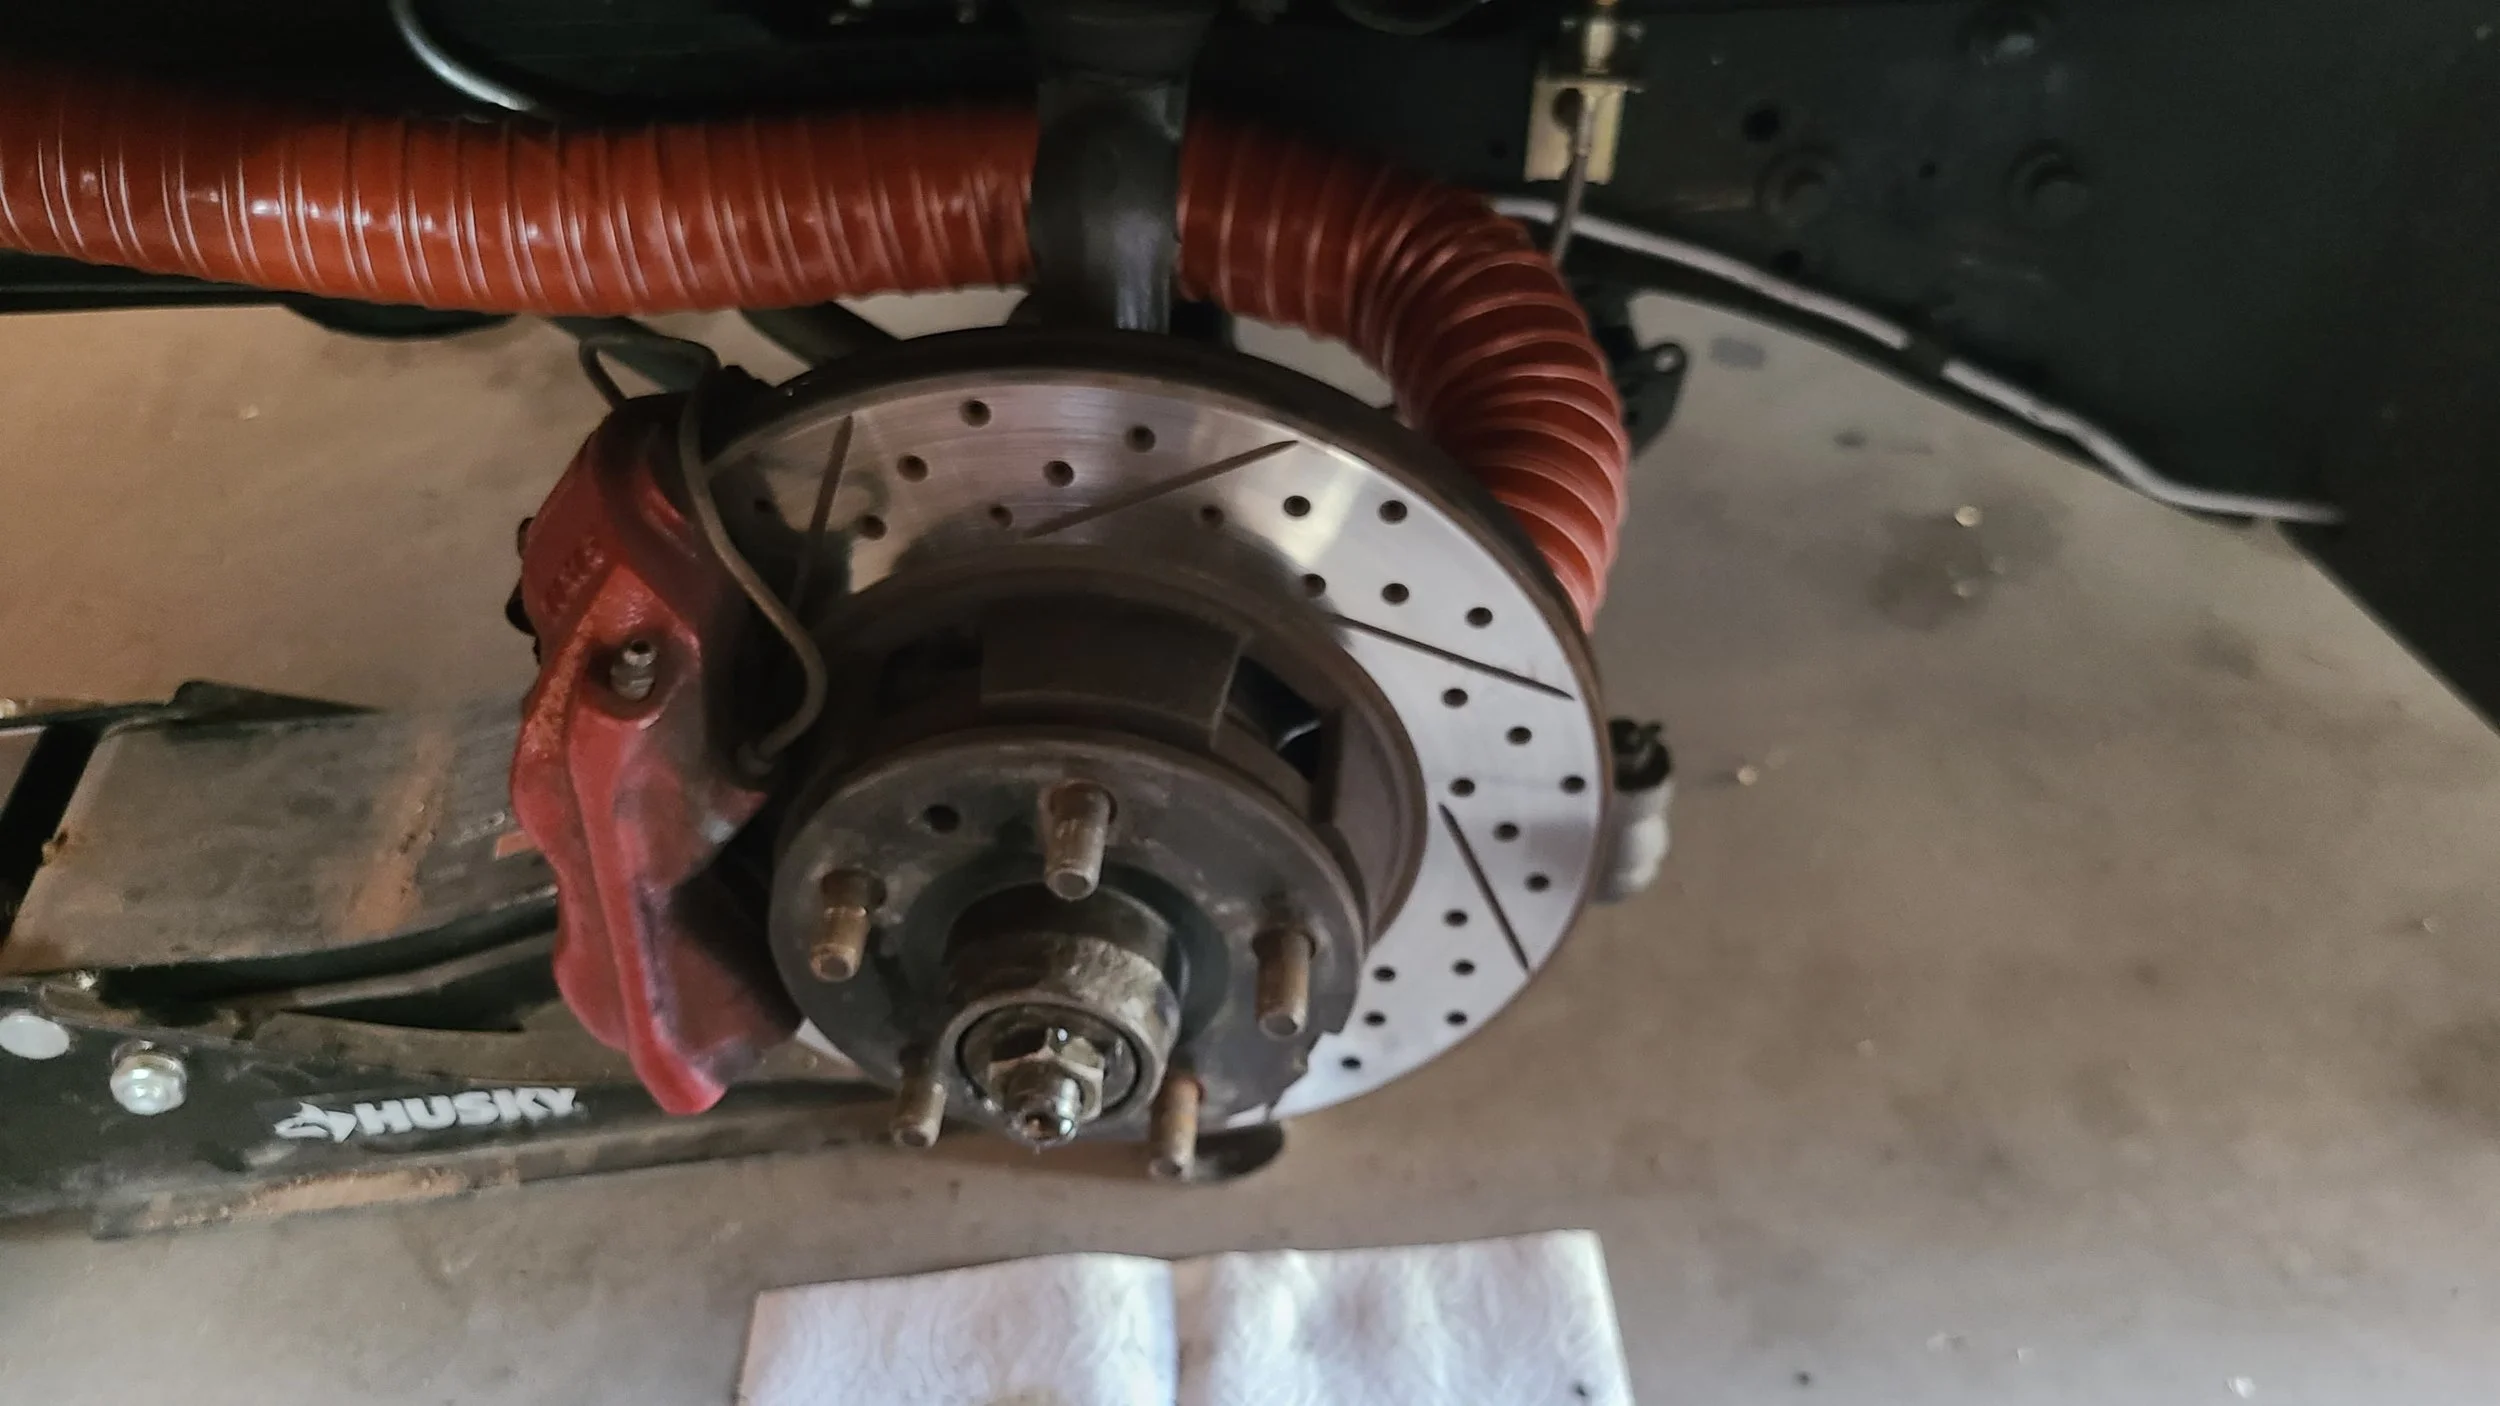
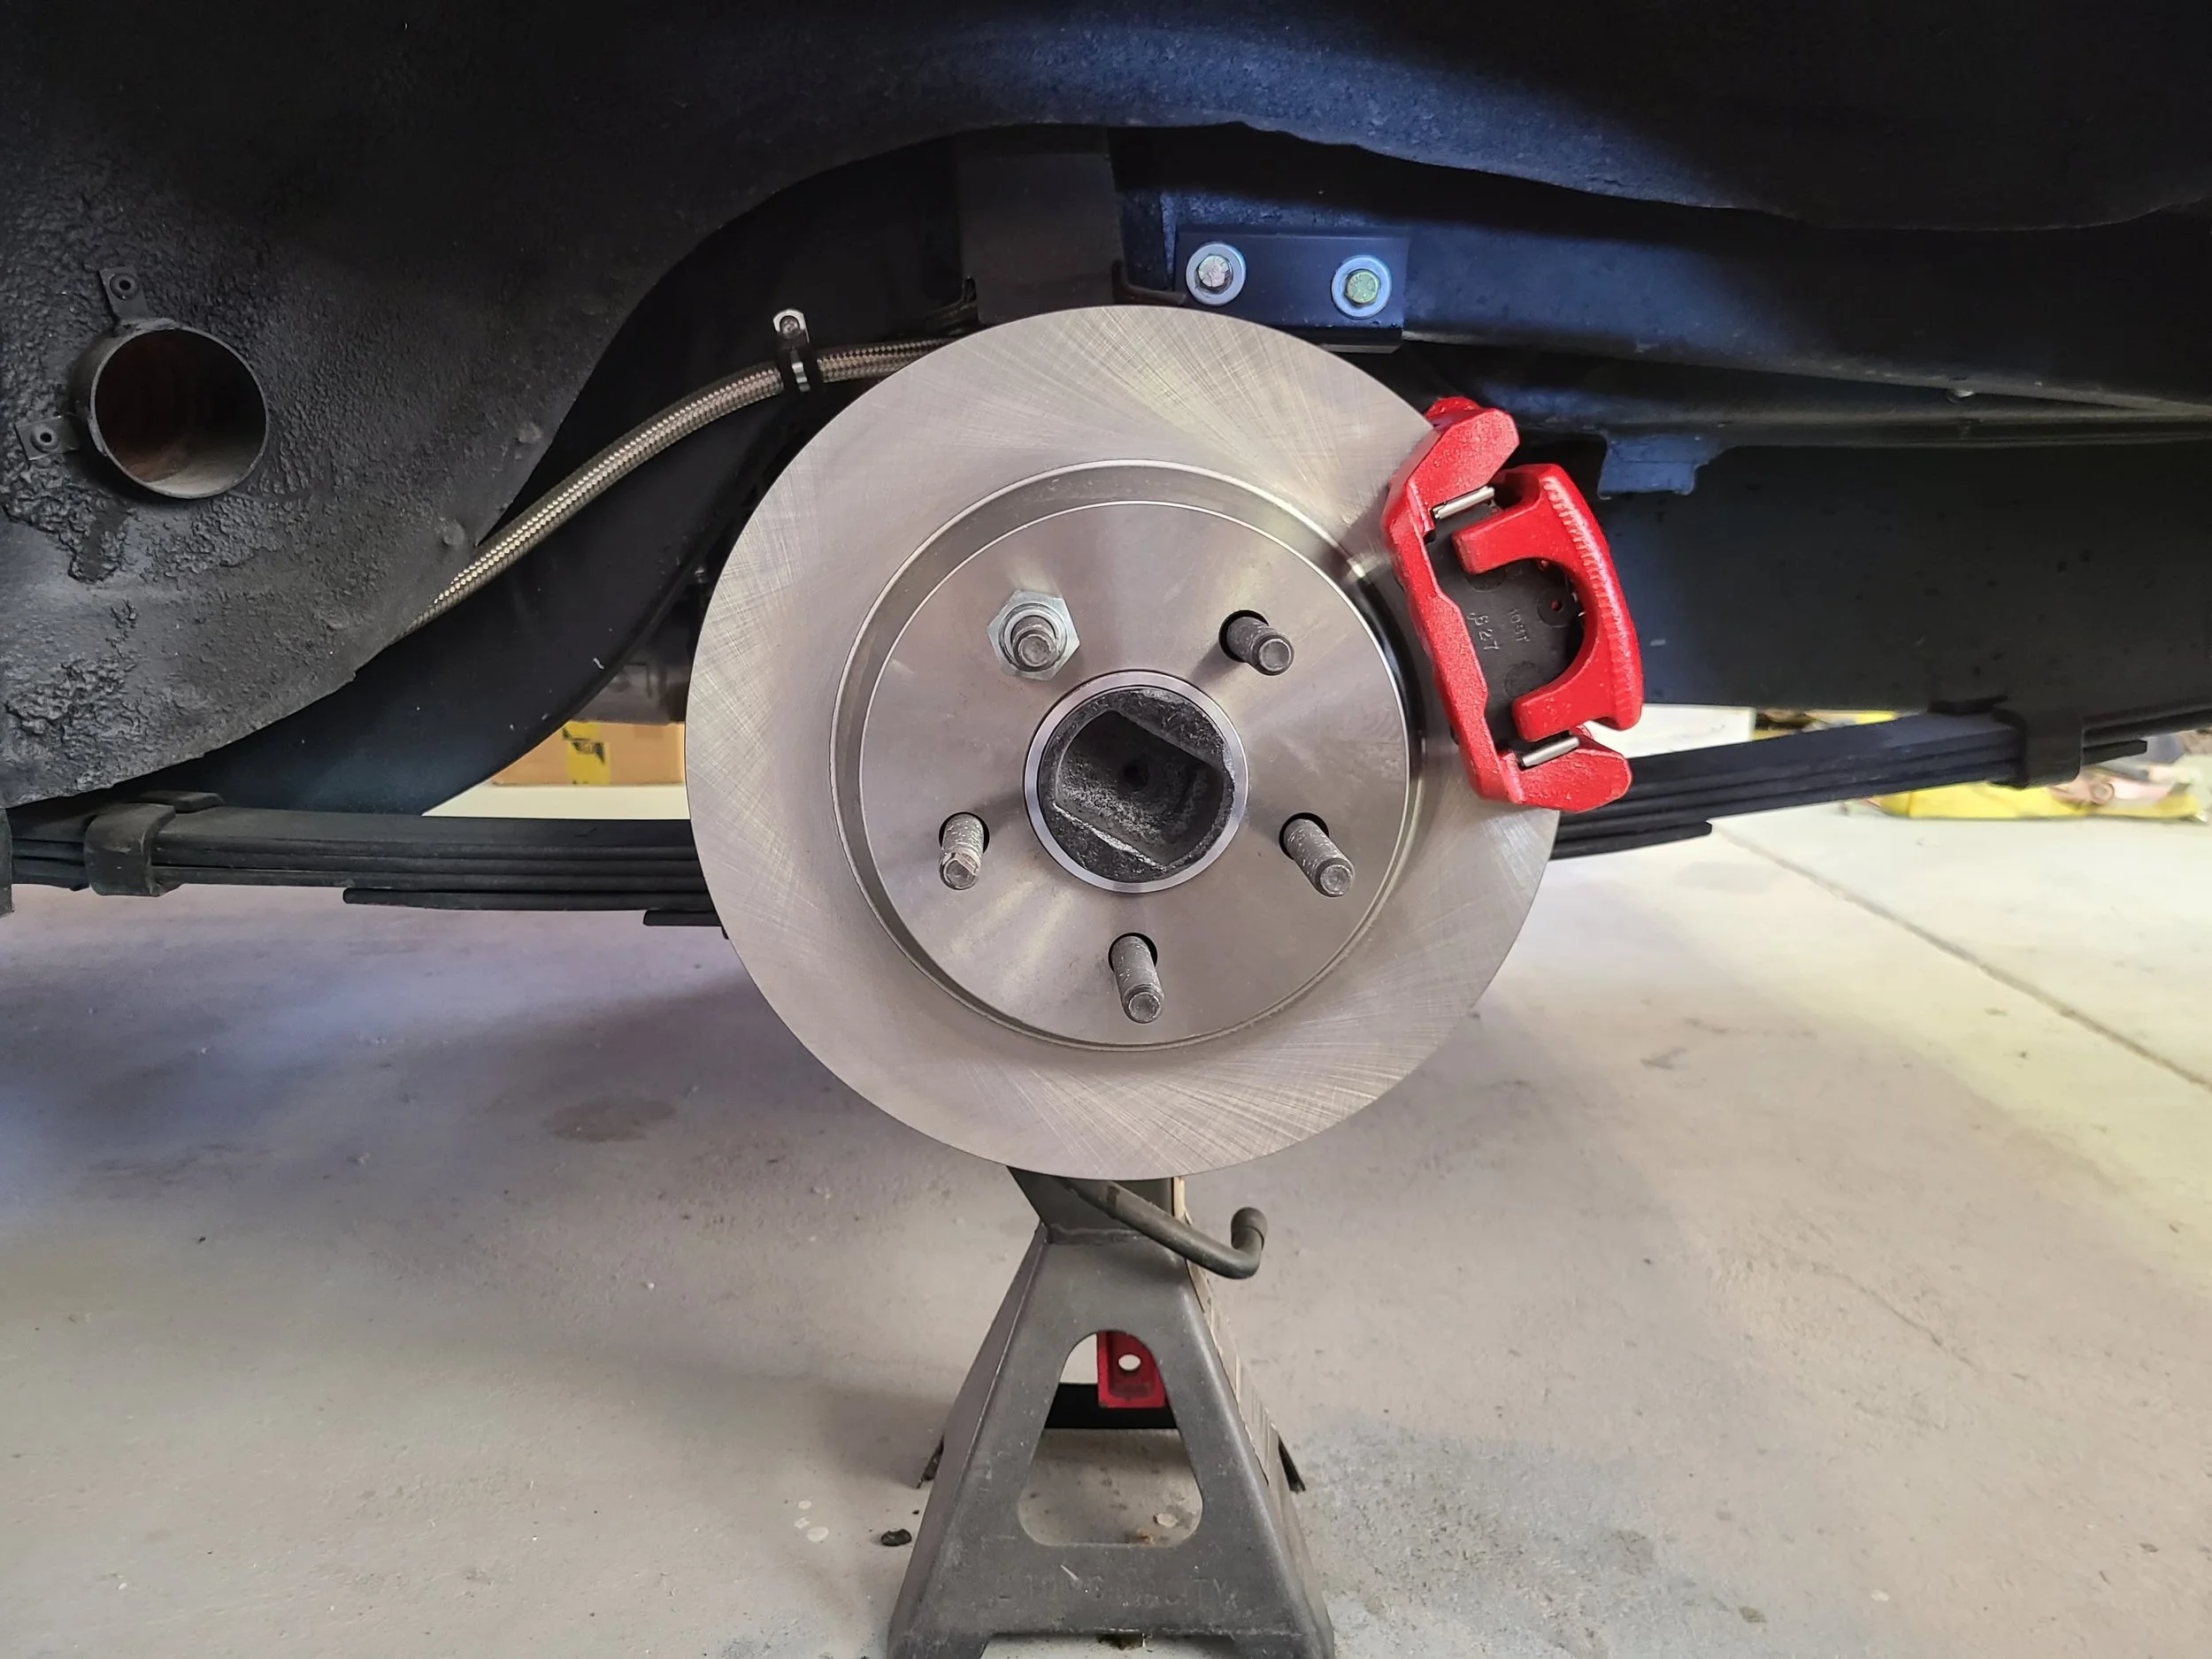
How to Convert Classic Mustangs to Front Disc Brakes on a Budget
Install Guide: Front Brake Cooling Kit (Classic Mustang)
Why Brake Cooling Is Critical for Classic Mustangs on Track
Rear Disc Brakes on a Classic Mustang: Myths, Bad Advice, and Reality
How to Install a Rear Disc Brake Conversion on a Classic Mustang
Choosing the Right Rear Disc Brakes for Your Classic Mustang