Install Guide: Front Brake Cooling Kit (Classic Mustang)
Overview
This guide walks through installation of the front brake cooling backing plates and ducting.
The process is straightforward and requires basic hand tools. Plan for about 1–2 hours for a complete install.
Tools & Supplies
Jack and jack stands
Lug wrench
Socket set / wrenches
Pliers (for cotter pin)
Flathead screwdriver or punch (dust cap removal)
High-temp grease (for bearings if needed)
Step 1: Remove Wheel and Caliper
Safely raise the vehicle and remove the front wheel.
Remove the two caliper mounting bolts.
Carefully set the caliper aside.
Do not let the caliper hang by the brake hose.
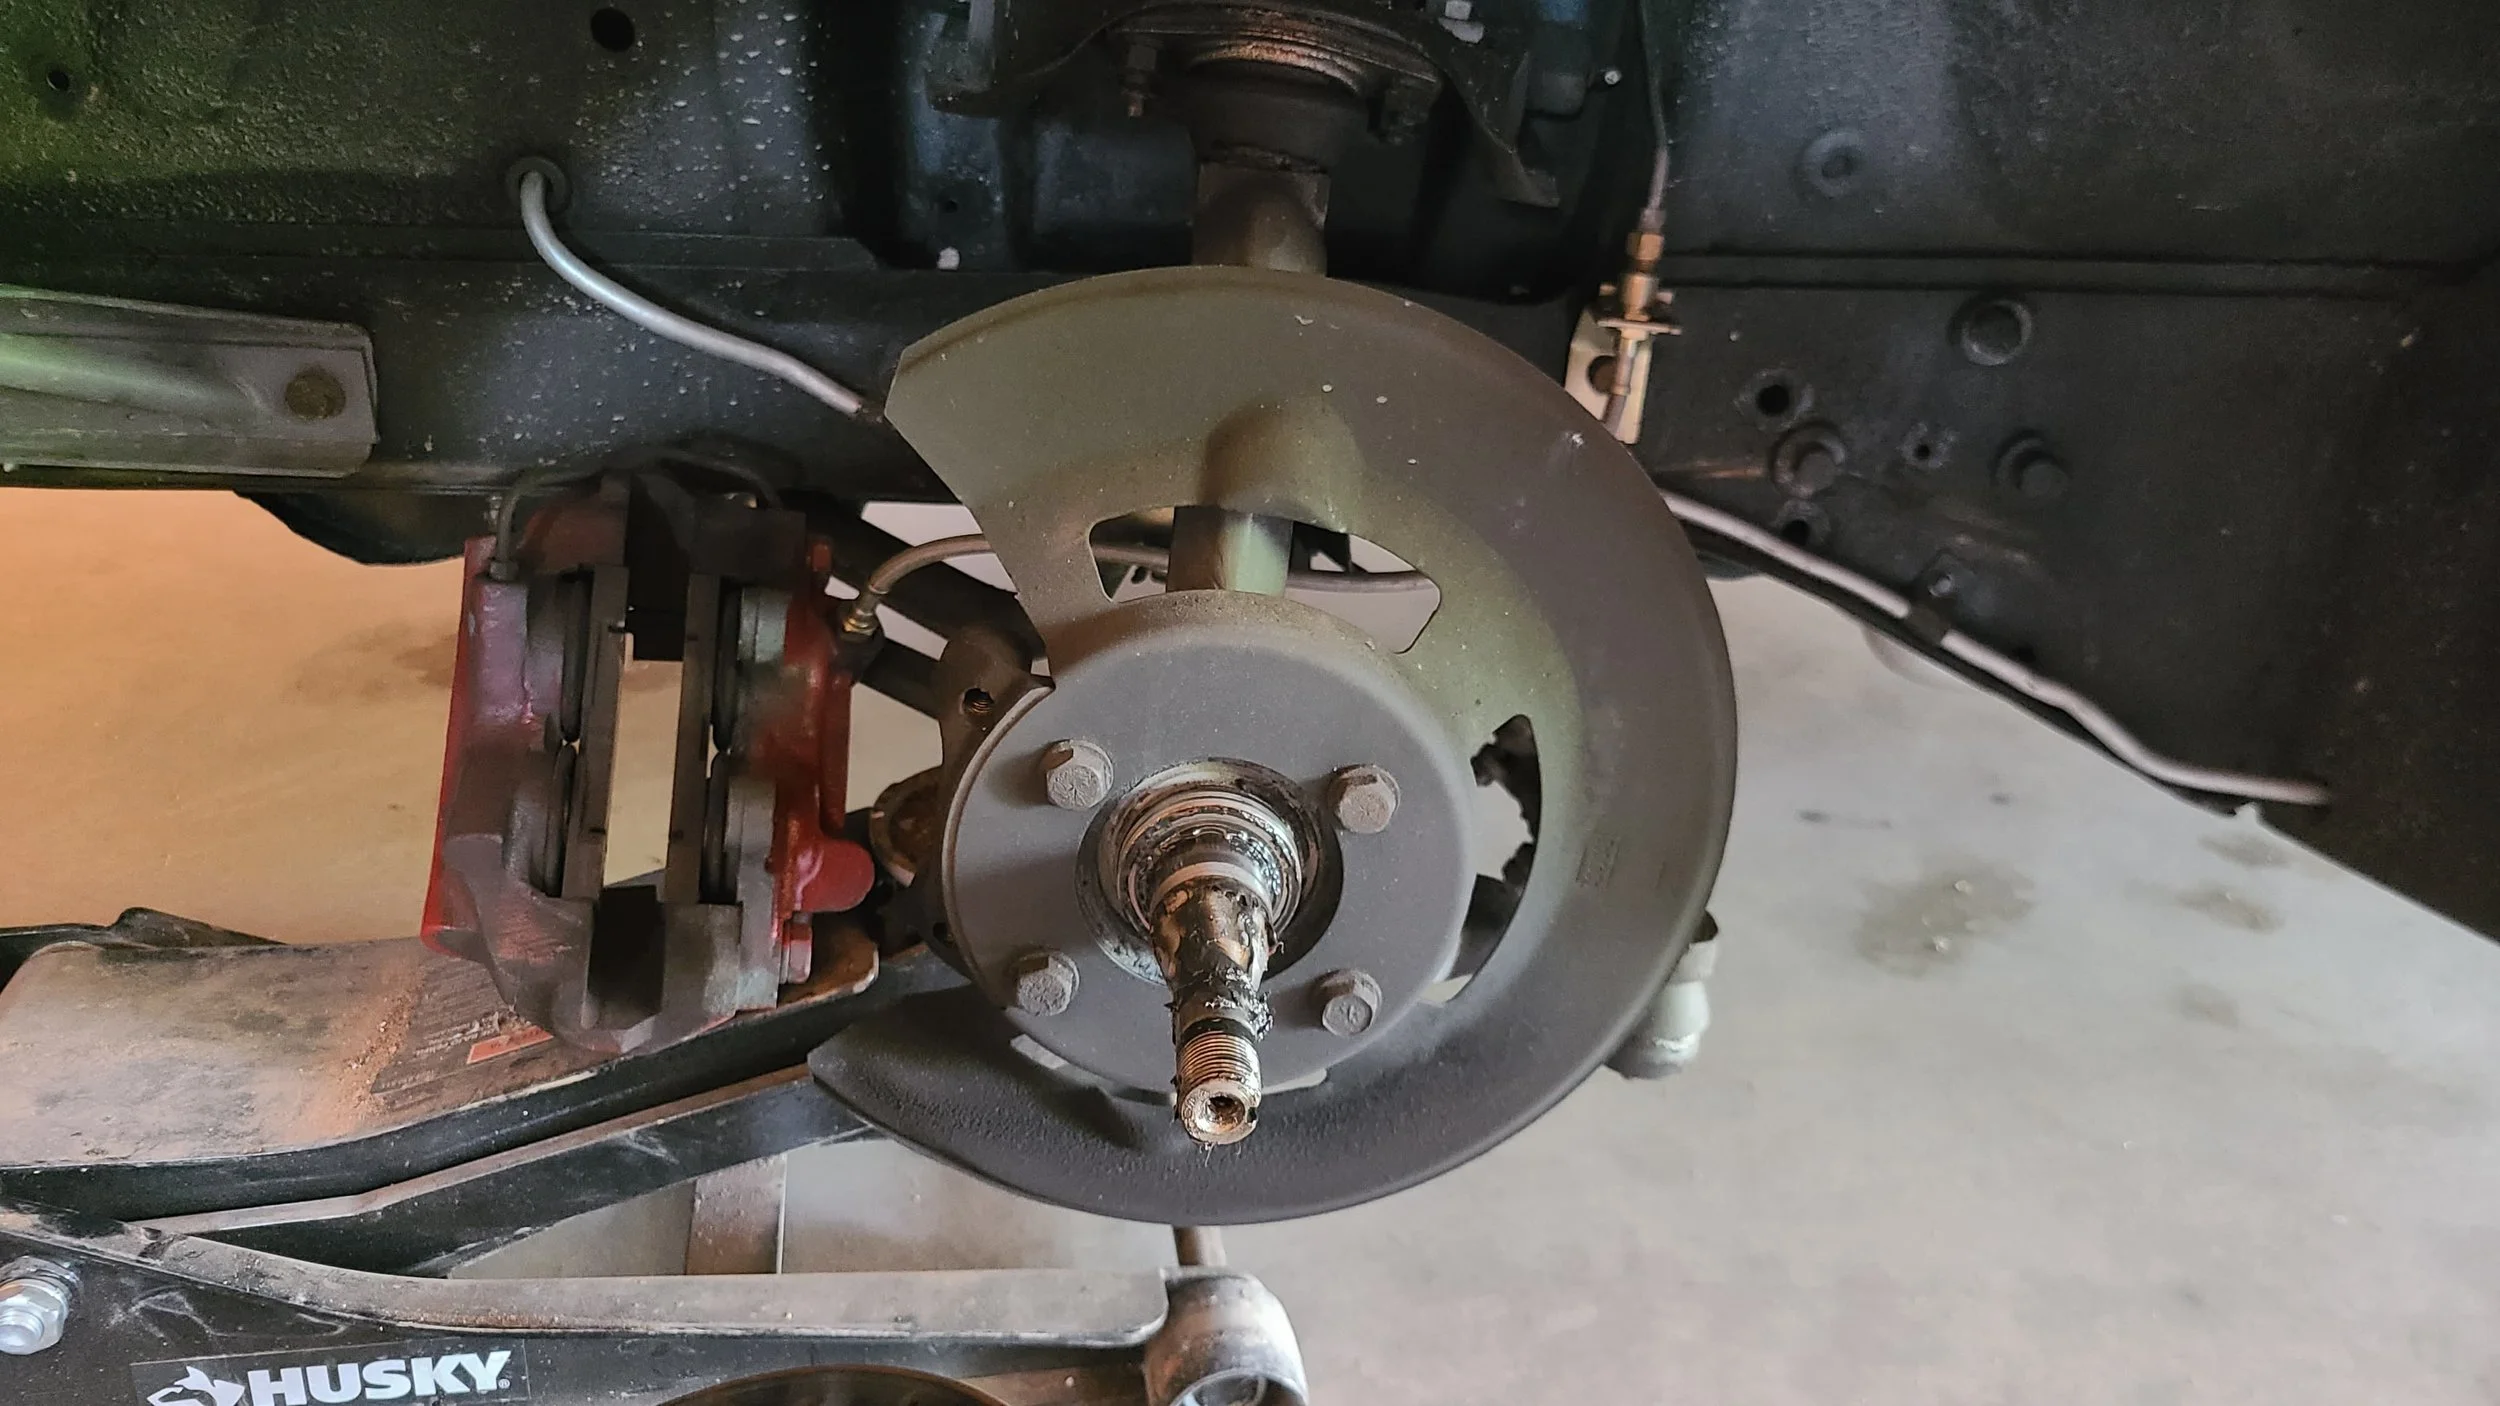
Step 2: Remove Hub and Rotor Assembly
Remove the dust cap from the hub.
Pull the cotter pin from the spindle nut.
Remove:
Nut retainer
Spindle nut
Slide the rotor/hub assembly off the spindle.
Remove bearings as needed and set aside.
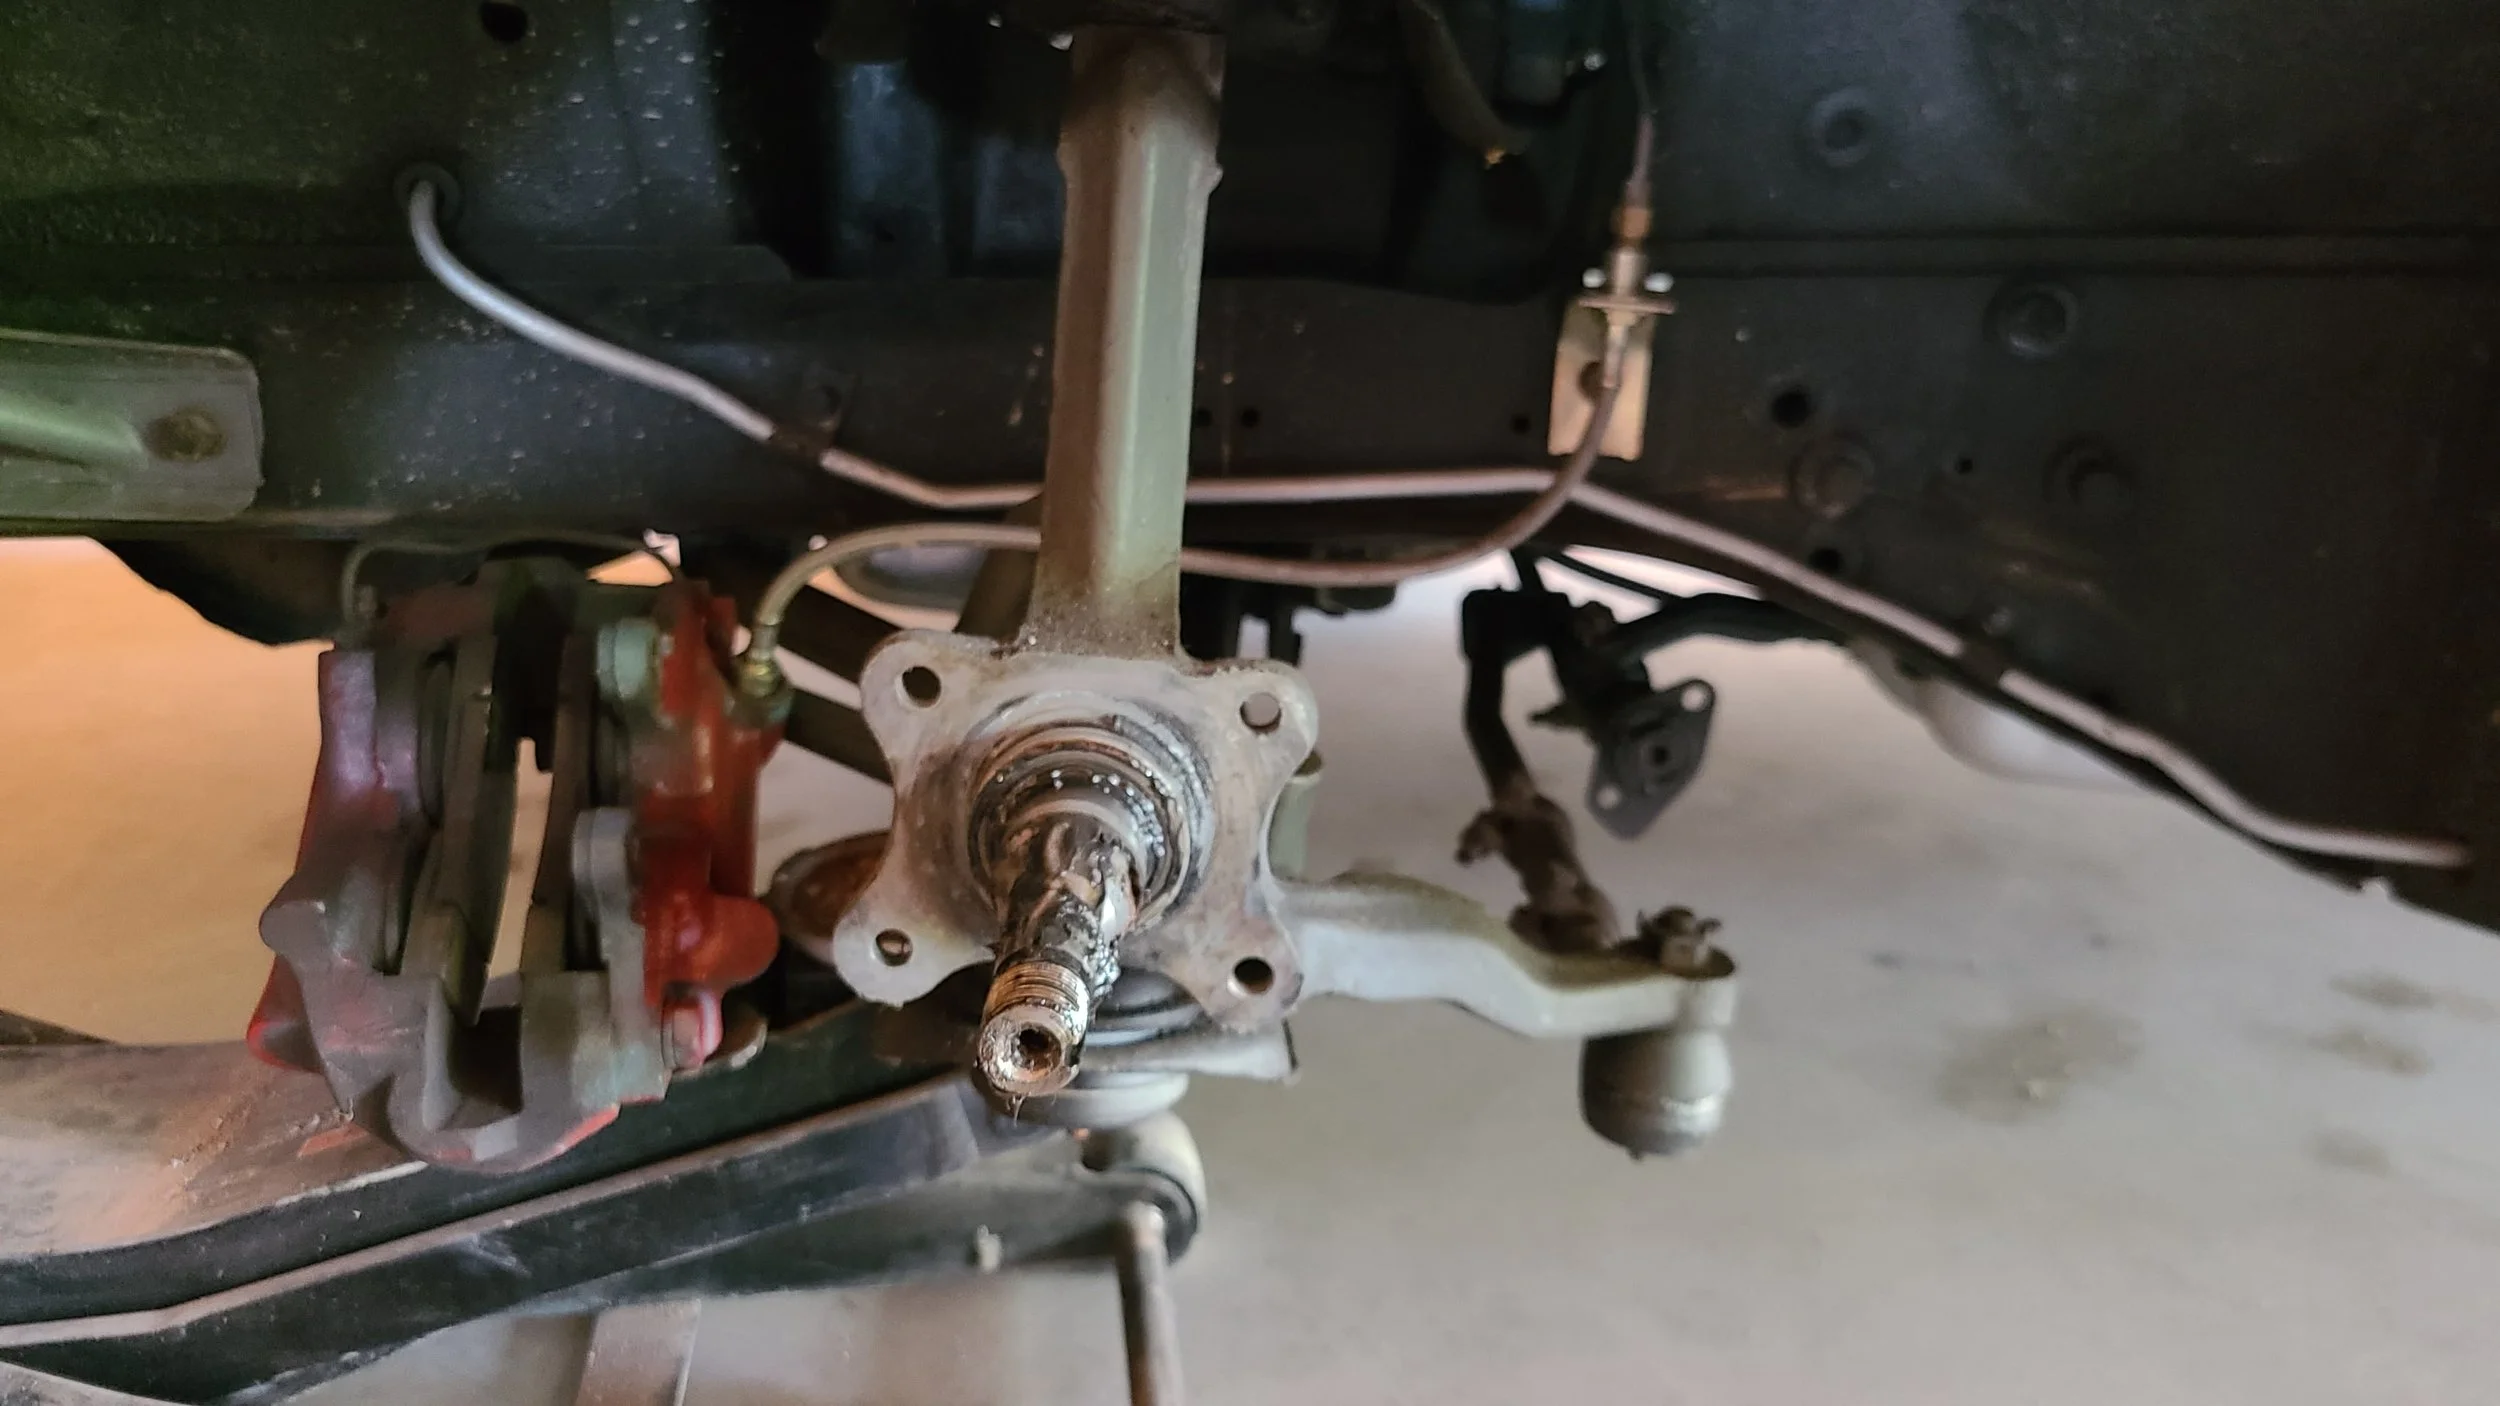
Step 3: Remove Backing Plate and Caliper Bracket
Locate the four bolts securing:
Caliper bracket
Factory backing plate
Remove the four nuts and bolts.
Remove both the caliper bracket and factory backing plate.
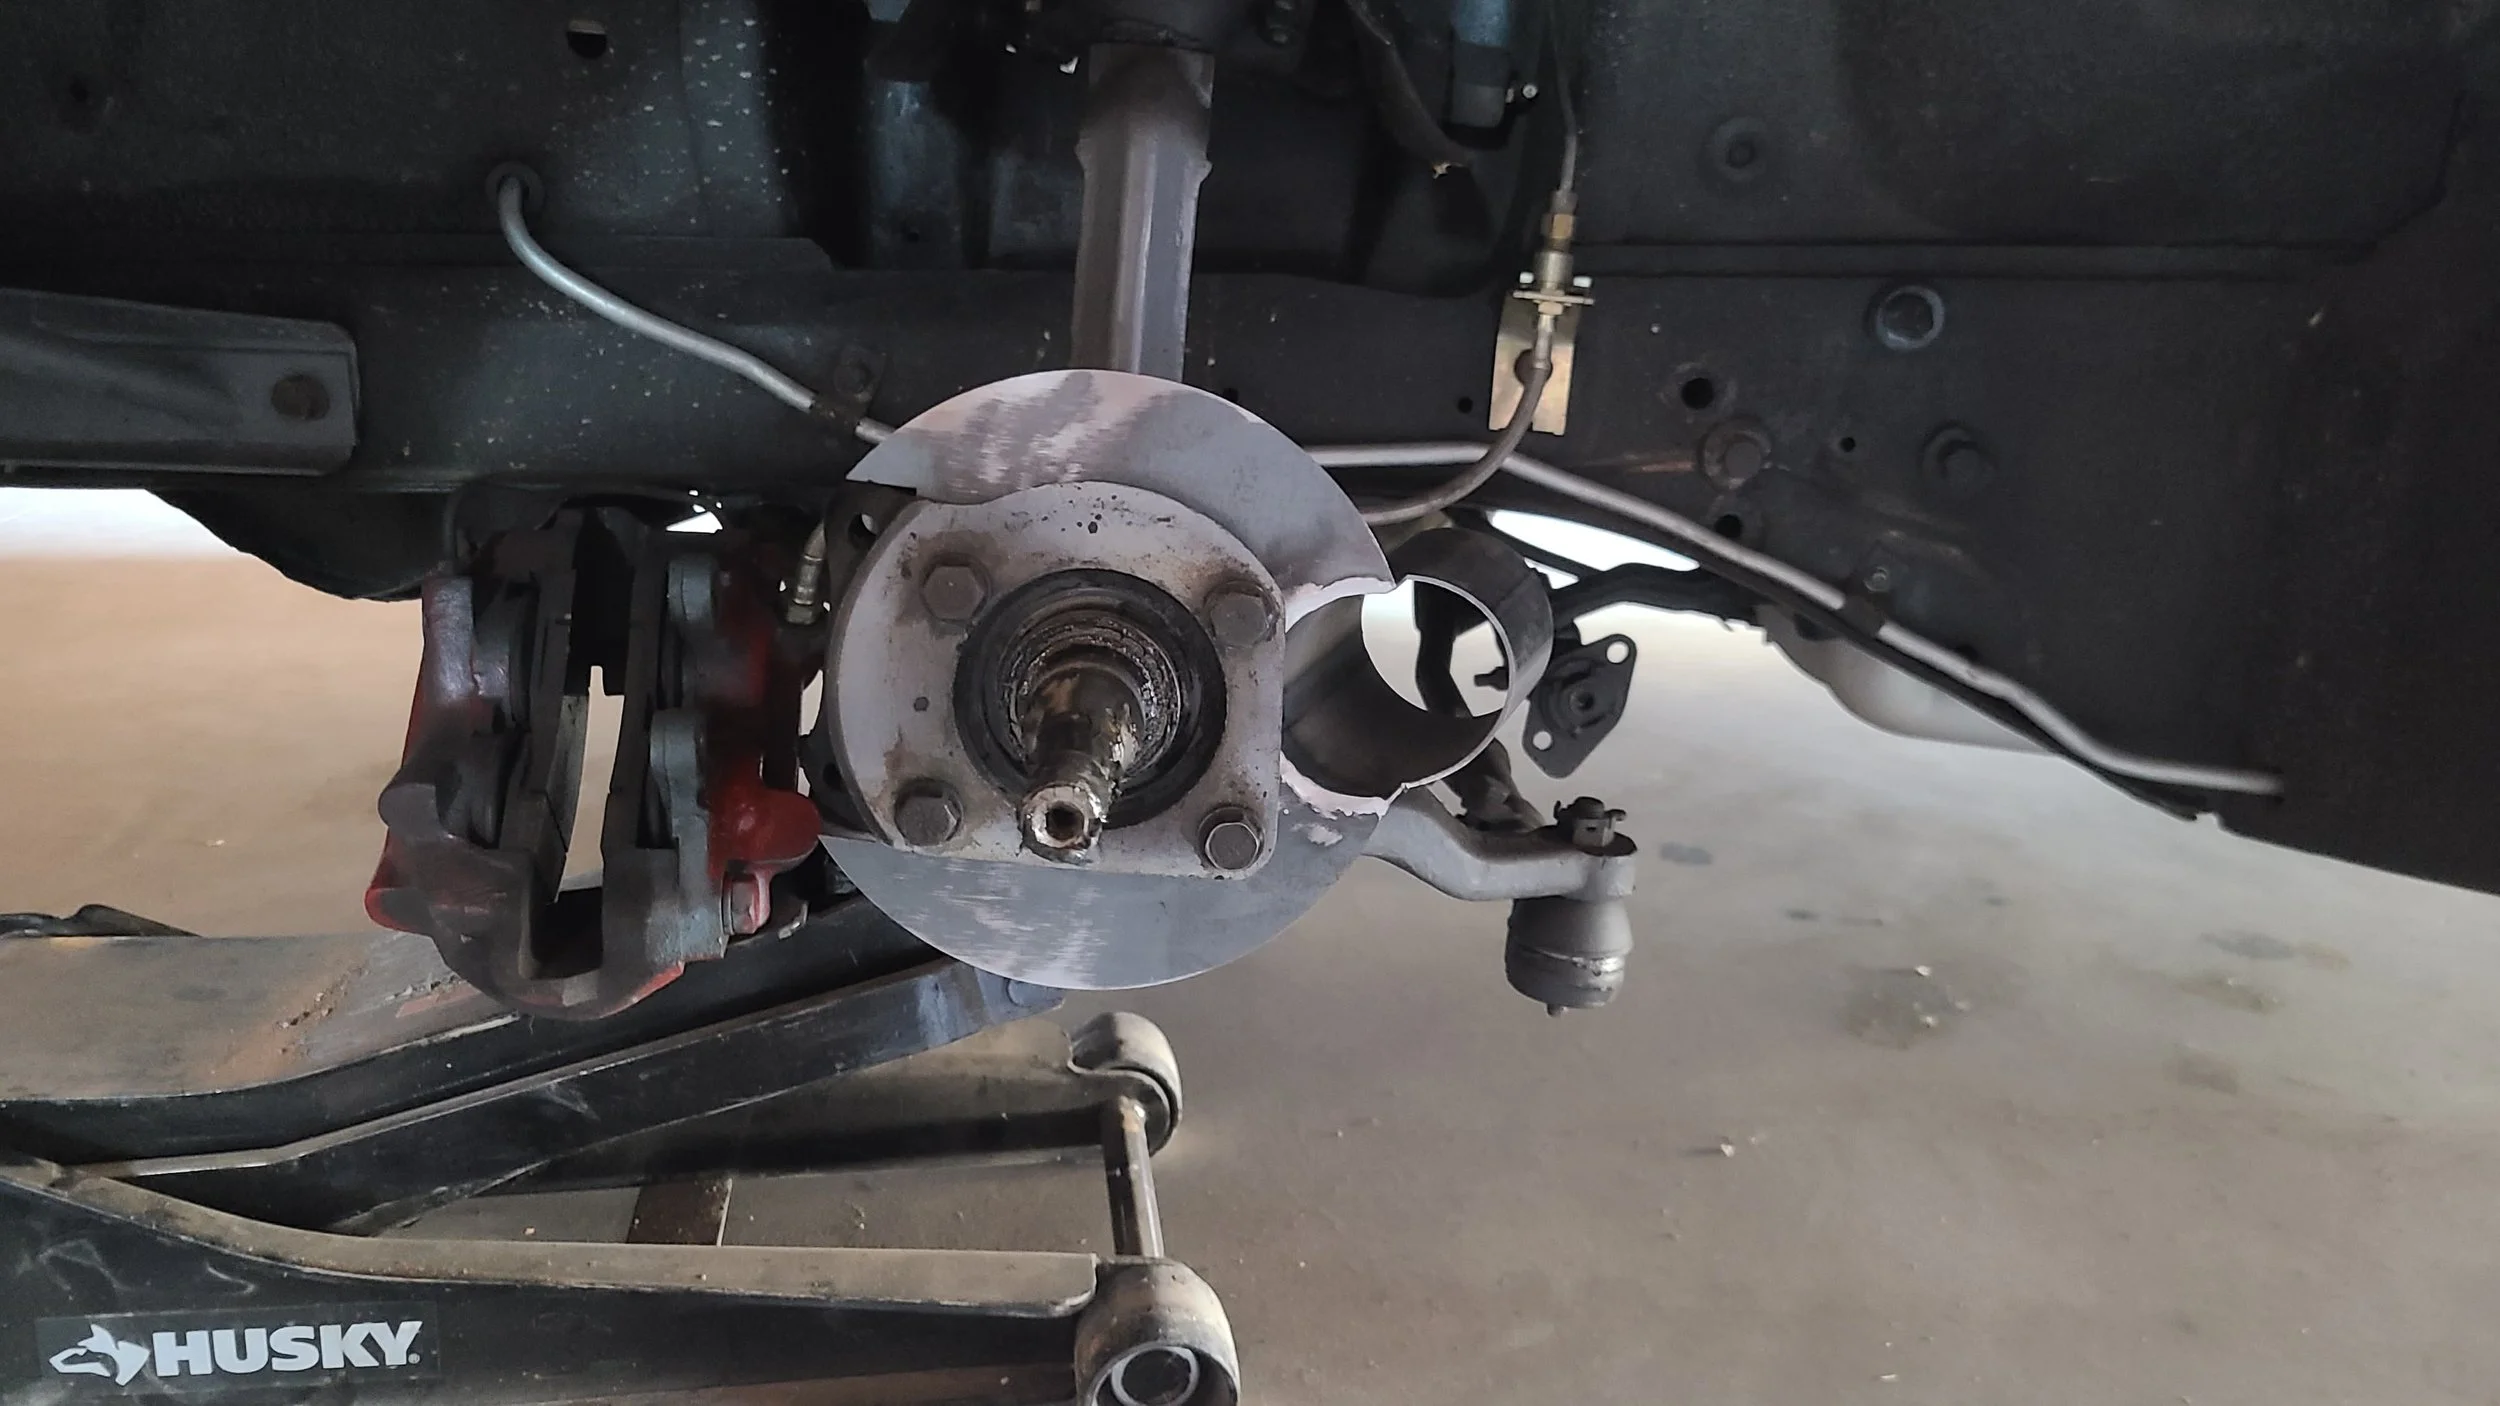
Step 4: Install Brake Cooling Backing Plate
Clean the spindle mounting surface.
Position the brake cooling backing plate between:
Spindle
Caliper bracket
Reinstall the caliper bracket over the new backing plate.
Install the four bolts and nuts.
Torque Spec
For 3/8”-24 fasteners:
Torque to approximately 30–35 ft-lbs
(Verify based on your hardware and application.)
Step 5: Reinstall Hub and Rotor
Reinstall bearings (grease if needed).
Slide the rotor/hub assembly back onto the spindle.
Install:
Spindle nut
Nut retainer
Set proper bearing preload:
Tighten while rotating rotor
Back off slightly
Ensure smooth rotation with minimal play
Reinstall:
Cotter pin
Dust cap
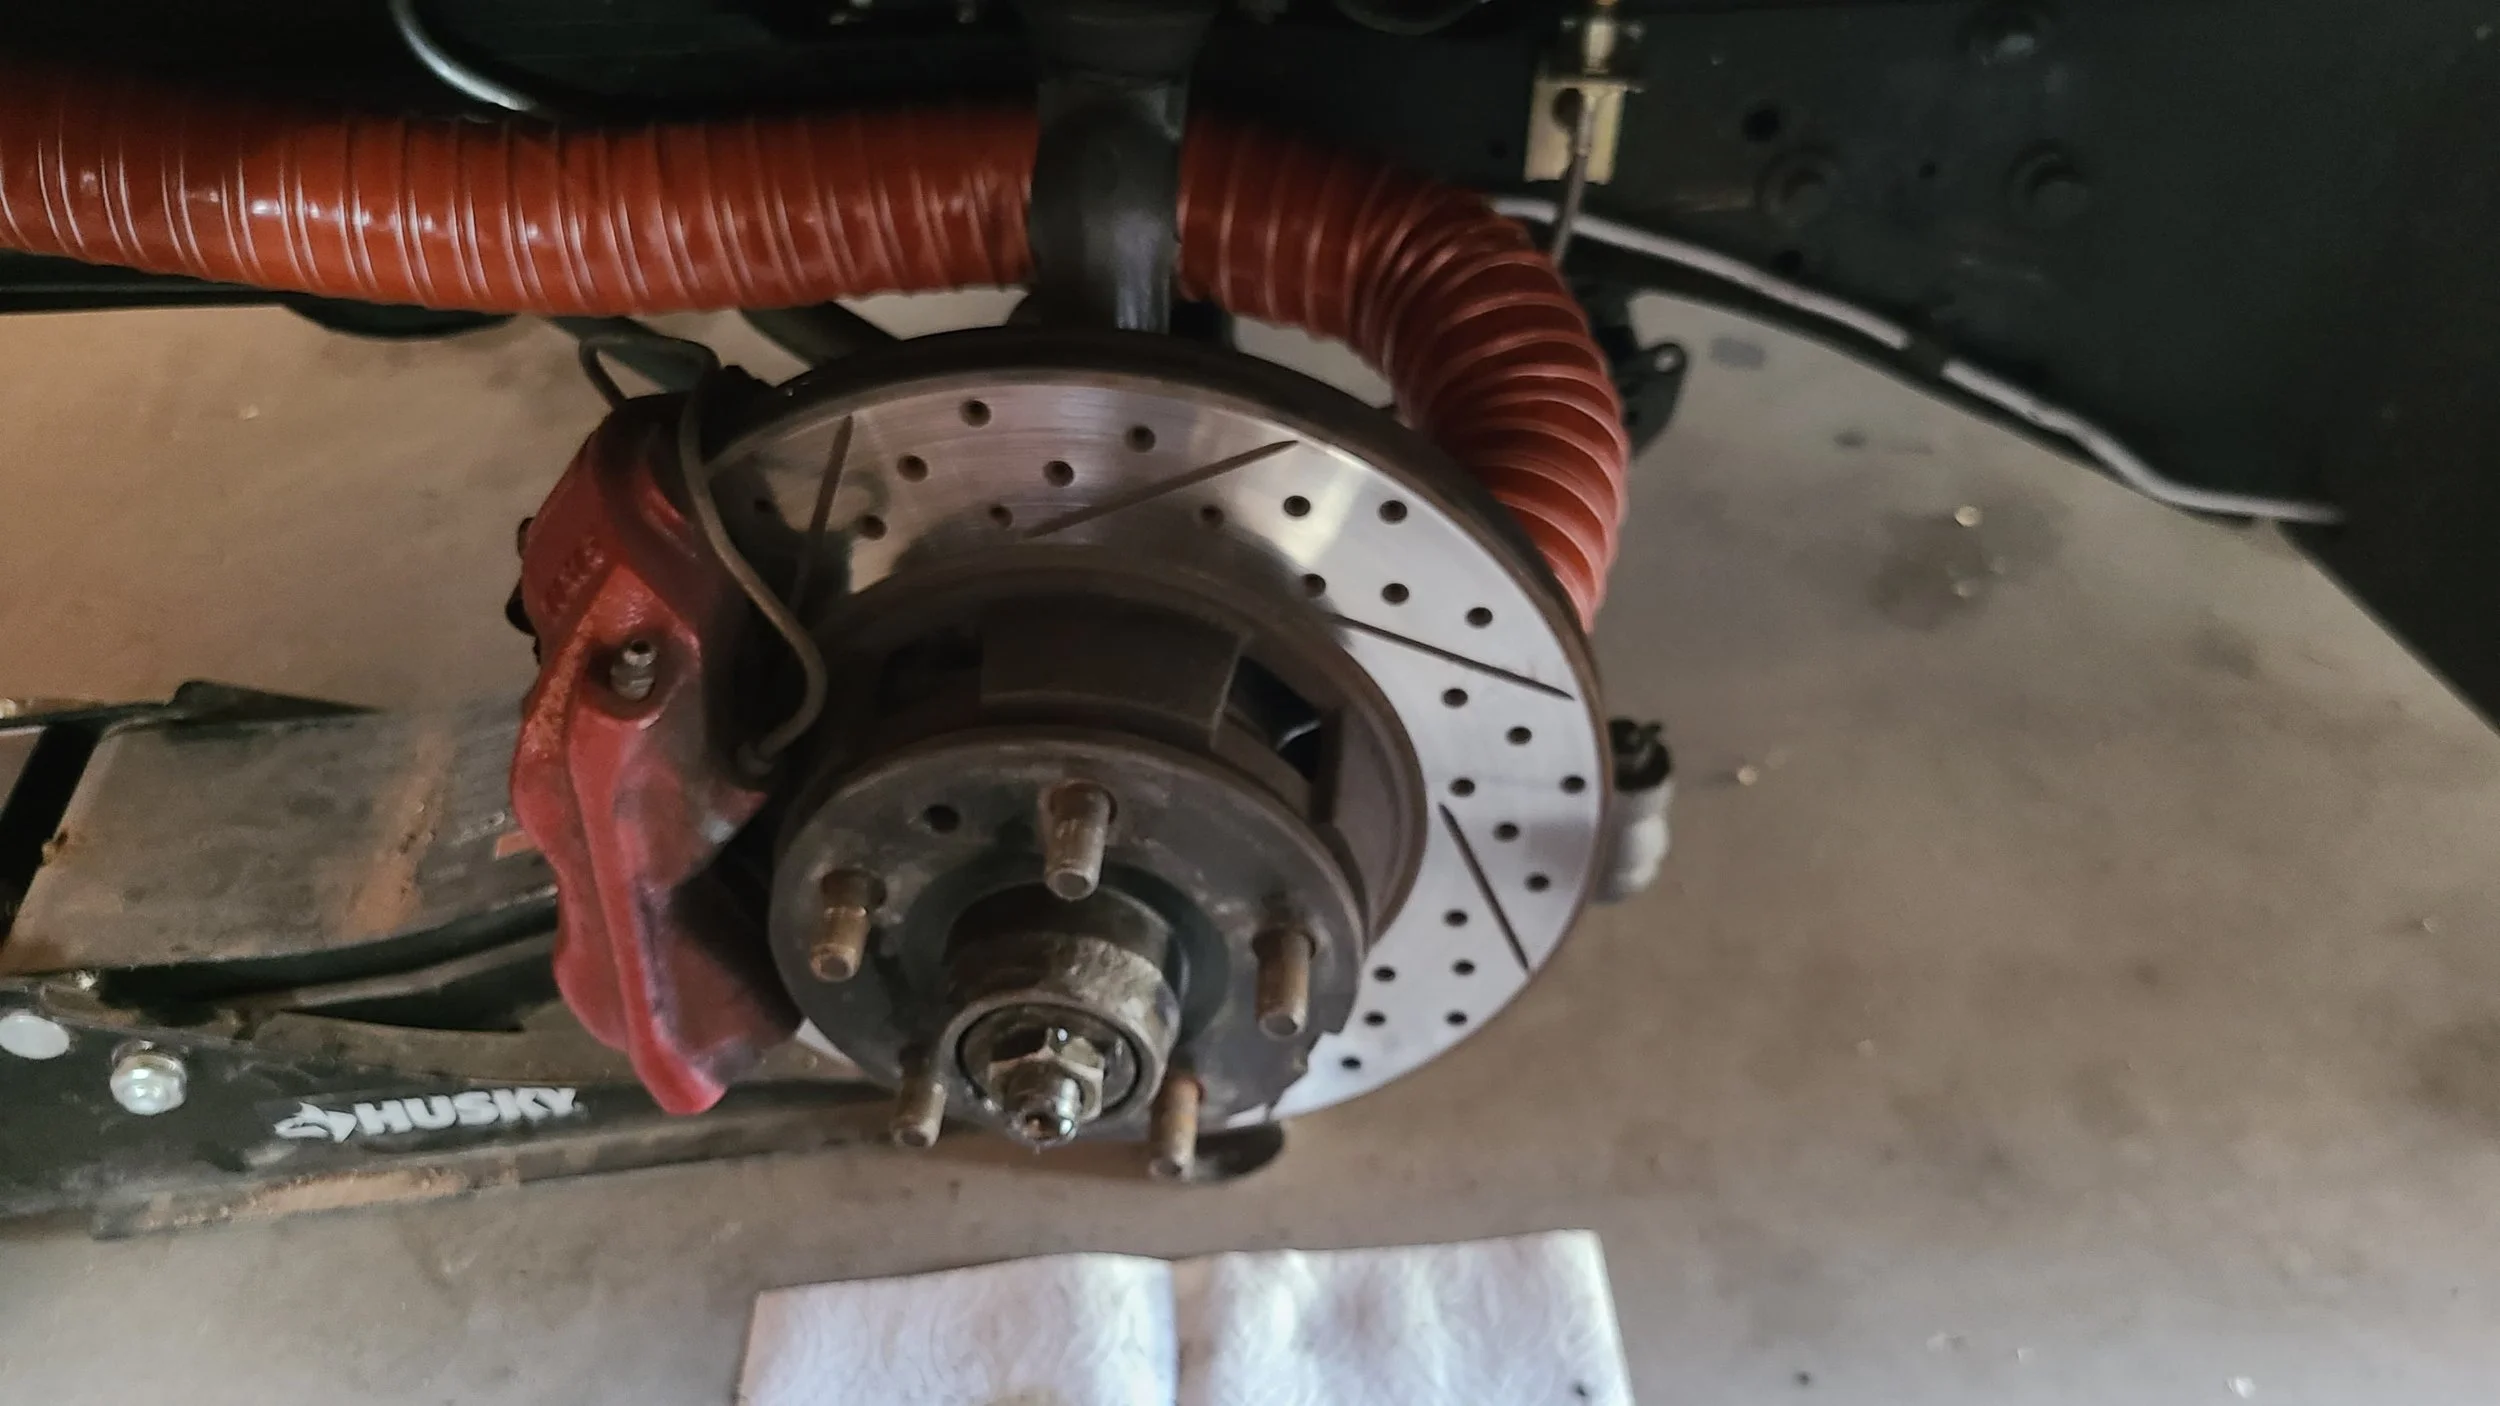
Step 6: Reinstall Caliper
Reinstall the caliper over the rotor.
Install and tighten caliper mounting bolts.
Step 7: Attach Brake Ducting
Attach 2.5” high-temperature silicone duct hose to the backing plate inlet.
Secure using a hose clamp.
Step 8: Route Ducting
Route the duct hose:
Behind the spindle assembly
Along the frame rail
Toward the front of the vehicle
Connect to your inlet scoop (not included).
Step 9: Check Clearance (IMPORTANT)
Before reinstalling wheels:
Turn steering fully left and right
Check for:
Hose interference
Contact with suspension components
Kinks in ducting
Step 10: Final Assembly
Reinstall wheels
Lower vehicle
Perform a final visual inspection
Final Notes
Ensure ducting is clear of moving suspension components
Avoid sharp bends or crushed sections in hose
Re-check all fasteners after initial use
Why This Matters
Brake cooling works by directing airflow into the center of the rotor, helping reduce temperatures and maintain consistent braking performance.
On classic Mustangs with smaller rotors, this can make a noticeable difference during repeated braking or track use.
Products used in this install: